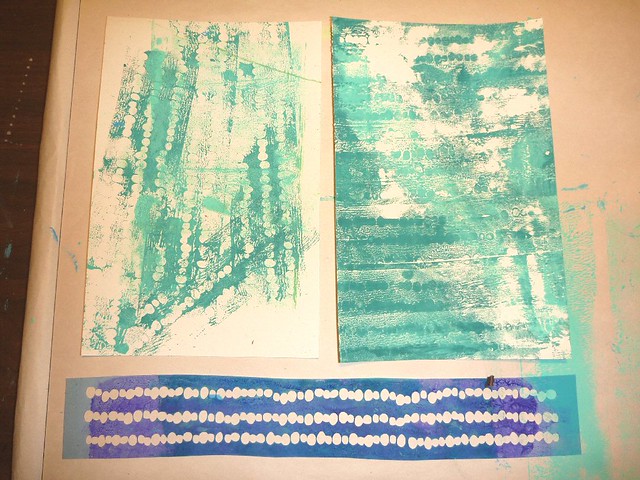
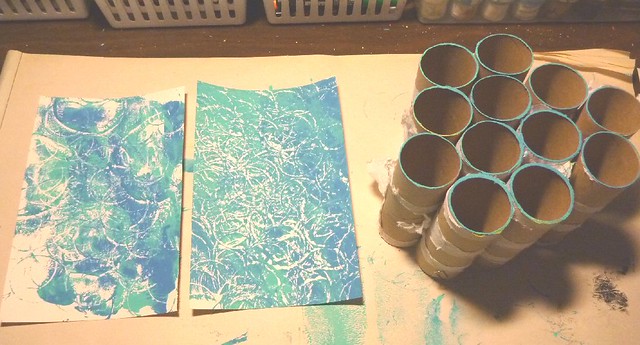
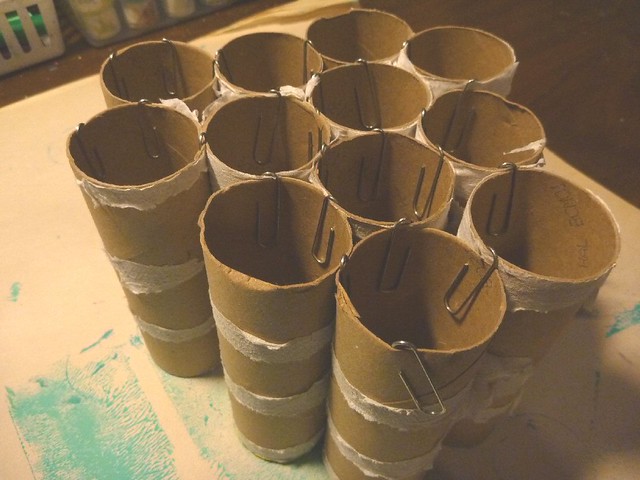
Who knew? Well apparently a few people judging from the You Tube videos available
HERE,
HERE, and
HERE... but it was a new technique to me so I tried it this weekend!
You need:

a hot glue gun and a LOT of glue sticks, some parchment paper or a craft mat (I used 2 pieces of parchment paper),and I used a brayer to press down as it gets hot and hard on my hands to press the glue flat.
then for the printing you need:
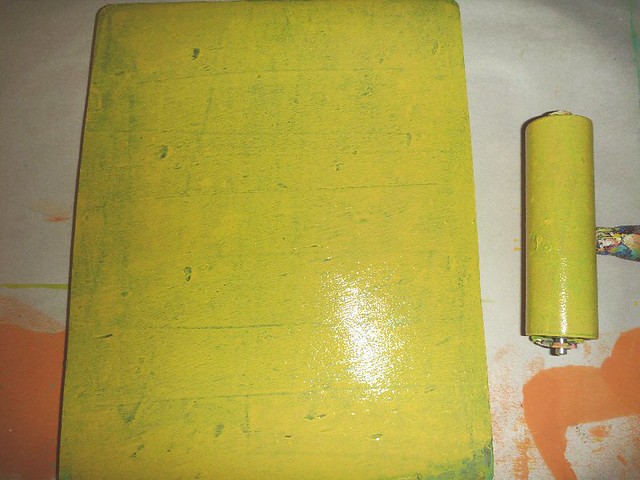
a gelli plate, acrylic paints, and a brayer to spread the paints as usual, paper to print on.
You can follow the technique in any of the videos above, but basically, you lay down a design on the parchment paper using the hot glue gun, immediately press the other parchment on top of it, flatten it (for the gelli plate I found this is needed), then when the glue has cooled, lift it away from the parchment and you have your stencil!
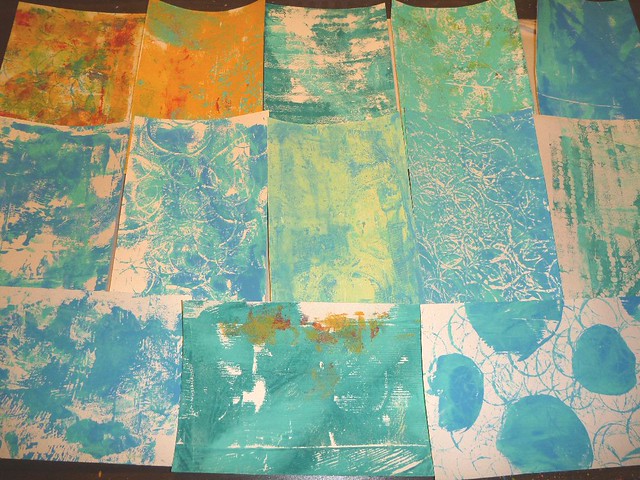
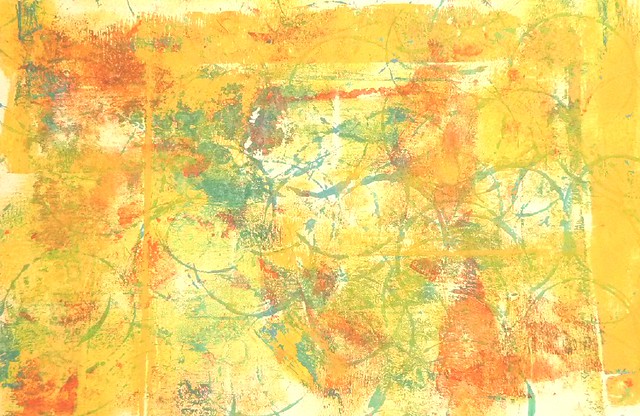
Here are a few I did today:
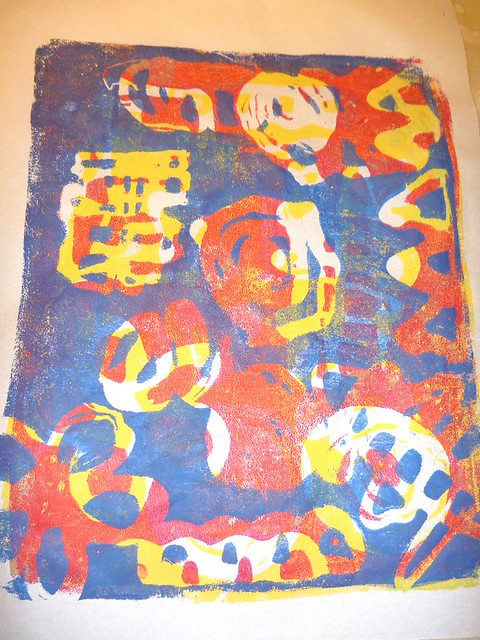
Primary set (a la Jane Davies above), yellow layer first, then red, then blue.
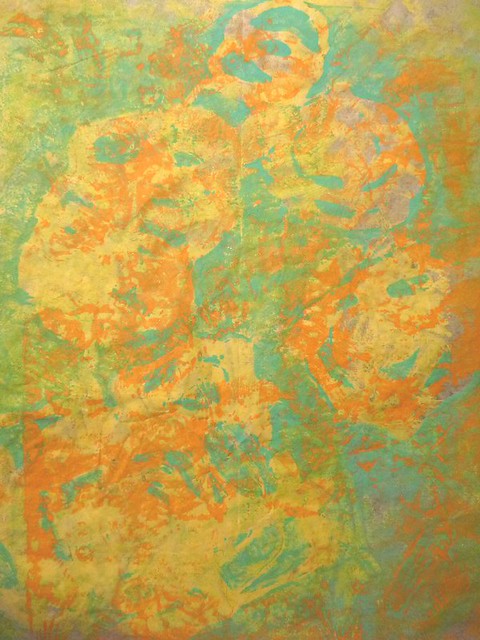
Yellow first, then orange, then teal, with a wash of part yellow-part gel medium to soften it.

Olive green and magenta, with a softening overcoat of gel medium mixed with transparent iron oxide (Golden)
and its reverse ghost print (my favorite of all these I did today):

These are mostly tests, although there are parts of them I like and might tear or cut up to use in my journals or other art. When Leslie and I get together again after Christmas we are going to play with this technique more. I can't wait to see what she comes up with!
Linked to:
Colorful Gelli Party
Mandarin Orange Monday
Creative Every Day


