
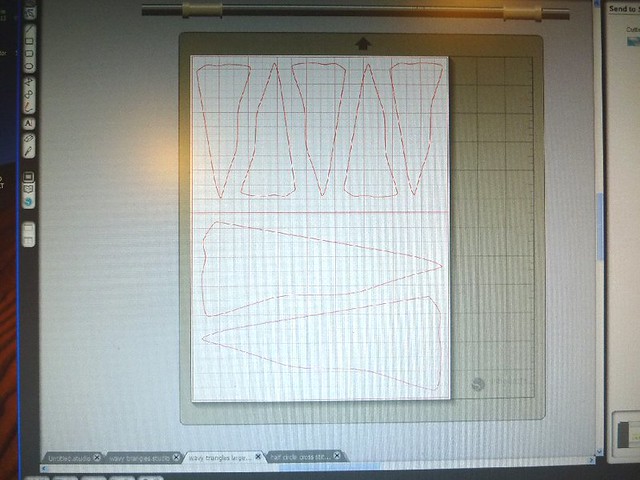
First make a design on the Silhouette software:
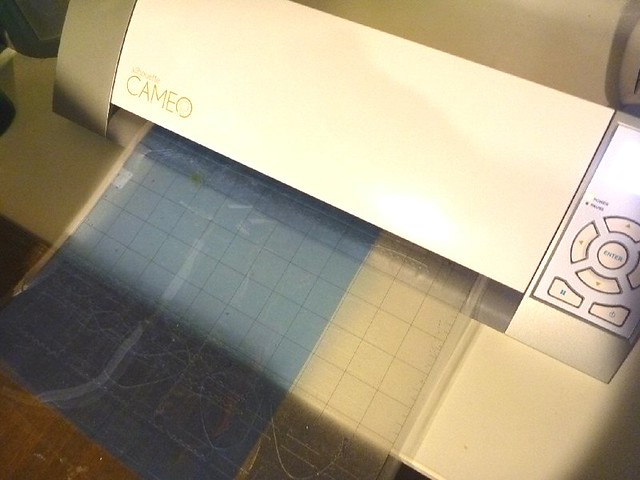
Then cut the stencil with the machine. It is a bit noisy!
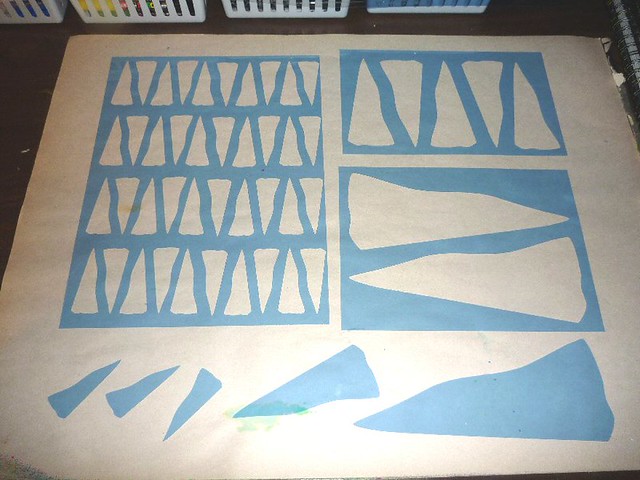
After it is cut, take it apart and you have the stencil and all the parts from inside to play with as well. What I like about this is that I can resize the same design and make a couple of stencils of various sizes to use.
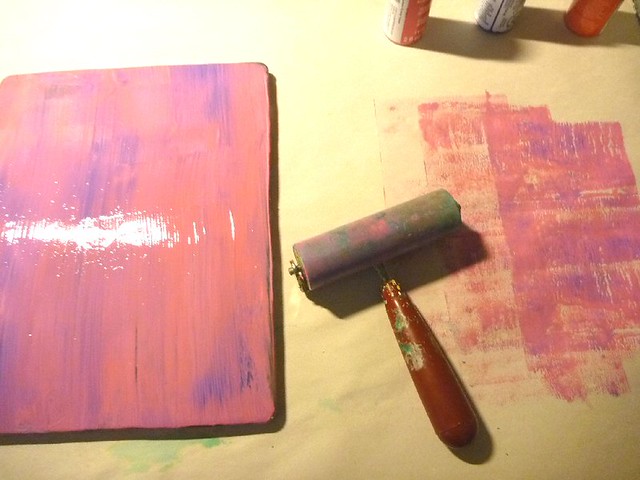
Next prep the gelli plate. THis time I used some pink and purple cheap craft acrylic paints.
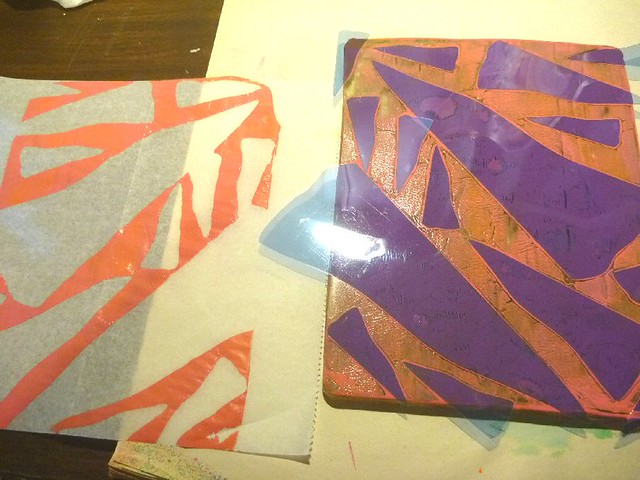
Making a print: The bottom part is weird because I wiggled my arm and it didn't print exactly smoothly but no big deal, I just use it as it turns out!
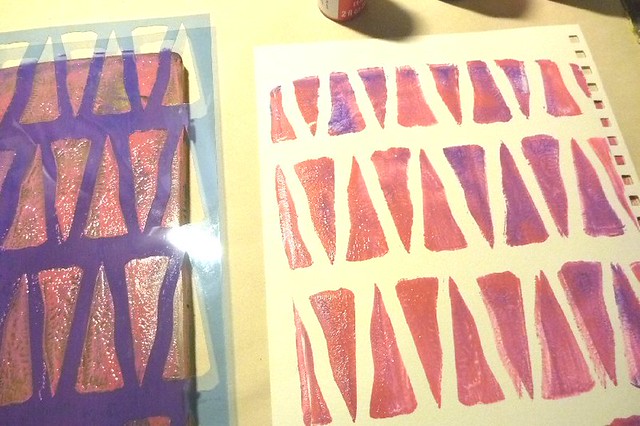
And later making a print from the inside parts of that same stencil:
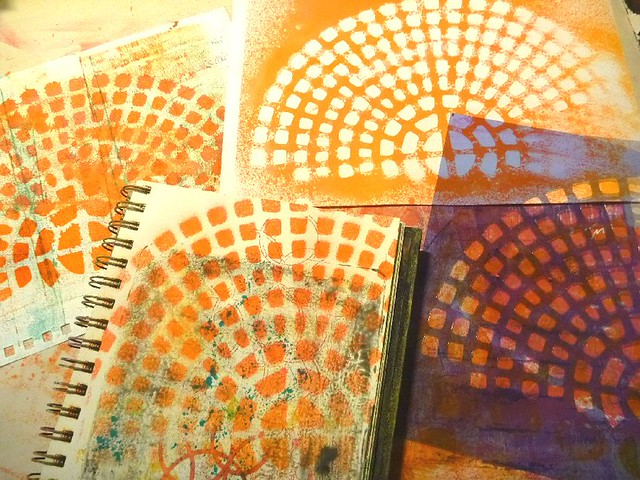
It doesn't always have to be printed with the gelli plate. Here is another new stencil that I used spray inks with:
Linked to: Gelli Party (Carolyn Dube)
Love your selfmade stencils, the prints look absolutely gorgeous! Suzanne
ReplyDeleteThanks Suzanne! I am having so much fun making them! Thanks for stopping by my blog!
DeleteHi, great blog. I have a Silhouette and ordered a pack of Pkg-Clear .007 after reading (from somewhere!!) that it works well with the silhouette. I need to clear some space and get cutting!! :-)
DeleteThanks for stopping by my blog Sarah! Remember to leave yourself some space in front and behind the Silhouette cause it sends the cutting plate in and out to get around!
DeleteThese are great stencils! What a good way of using the Silhouette and all the shapes.
ReplyDeleteThe more I play around with it the more I realize I can do on it that I just could not do by hand... well maybe I could but it would take me years to cut my own stencils that way! And it came with a $10 credit to use in the shapes store that I haven't even used yet!
DeleteThanks for stopping by my blog!
This is wonderful! I've been trying to make re-useable stencils with my Cricut for a while now, but I haven't had much luck yet. Either the mylar was too thin or I couldn't cut through it. May I ask what you used to make these stencils from?
ReplyDeleteI use the Grafix Blue Stencil film from Dick Blick. I tried transparencies but they are too thin for my liking. Good luck with it! Thanks for stopping by!
DeleteI have been cutting stencils with my Silhouette also. While the Silhouette cuts the thin film fine, the stencils are a bit too fragile. The thicker film dulls my cutting blade and it needs to be replaced after cutting the stencil. Maybe I am using the wrong setting to cut the thicker film. Can you tell me the Silhouette settings that you use to cut the Grafix Blue Stencil film?
DeleteI have been experimenting since this is all so new... usually the blue film uses a 6 or 7 setting. Do the TEST CUT first and then adjust accordingly.
DeleteI tried my hand at cutting a stencil the other day and it was HORRIBLE! I used one of those hot cutter tools and it was such a tedious process that I will not do it again! Love your prints! I have a Cricut and never use it and thinking of getting rid of the whole mess. Do you like your Cameo?
ReplyDeleteThat's the thing for me too -- it is a mess and very tedious for me to cut my own stencils to the point of not doing it. Now that I have the Cameo I can cut them anytime I get an idea! I love it, and am glad I got it for myself. It is one of those tools that I can also use for my classroom (making decorative signs out of colored paper) too so it has many uses for me. Thanks for stopping by!
DeleteThank you for stopping by my blog Rhonda. I just recently got the Silhouette, but have not done much with it....thats foe the inspiration!
ReplyDeleteIt has been so much fun! I look forward to seeing what you will do with it! I love how easy it is to share ideas with the Internet -- maybe we need to find or make a Silhouette challenge? Silhouette Saturday maybe? LOL
DeleteThanks Paulette for popping in to say hi!
I have never heard of this machine, but it looks like fun. I agree that cutting stencils by hand is hard work.
ReplyDeleteLots of fun! Thanks for stopping by! I took a peek at your blog too -- loved your gelli prints!
DeleteSo glad you shared this with the party! You've shown how great not only a stencil can be on it but also the bits that get cut out! The angles you have then at is such fun!
ReplyDeleteThanks Caroyln I appreciate your comments! I am just having so much fun making stencils! And then gelli printing with them! Oh boy! Thanks for popping by!
Delete