
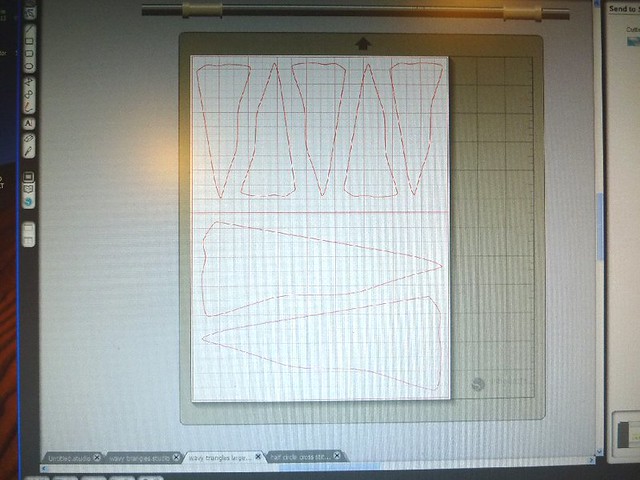
First make a design on the Silhouette software:
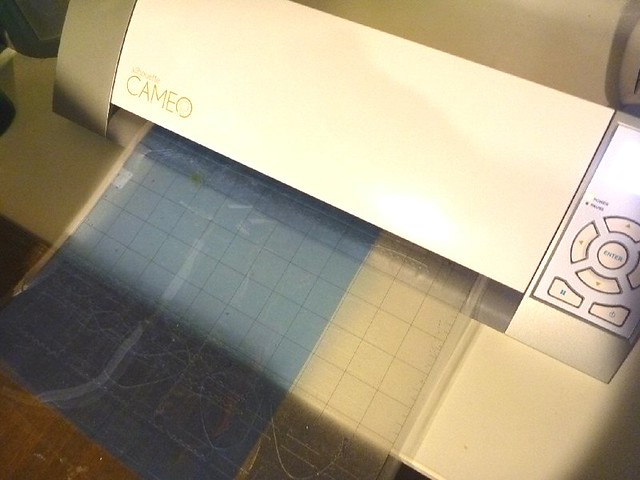
Then cut the stencil with the machine. It is a bit noisy!
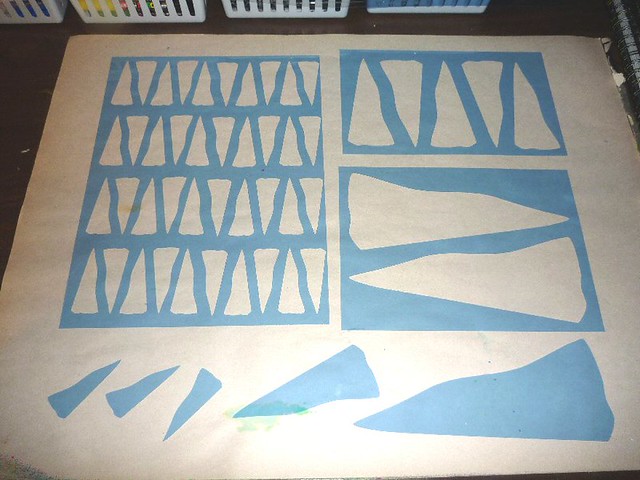
After it is cut, take it apart and you have the stencil and all the parts from inside to play with as well. What I like about this is that I can resize the same design and make a couple of stencils of various sizes to use.
Next prep the gelli plate. THis time I used some pink and purple cheap craft acrylic paints.
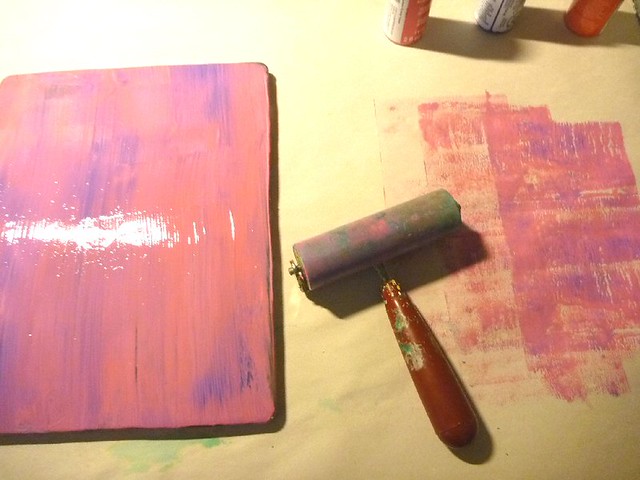
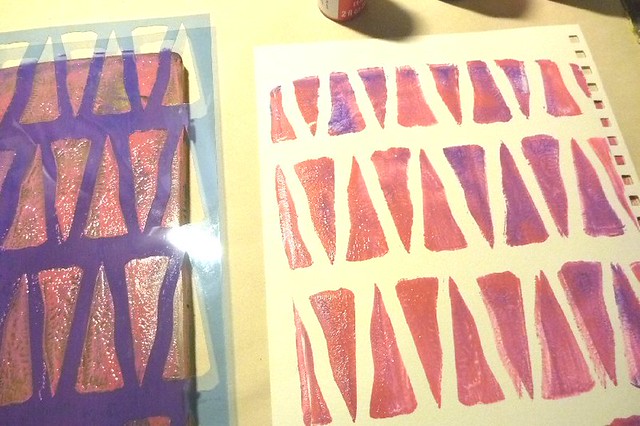
Making a print: The bottom part is weird because I wiggled my arm and it didn't print exactly smoothly but no big deal, I just use it as it turns out!
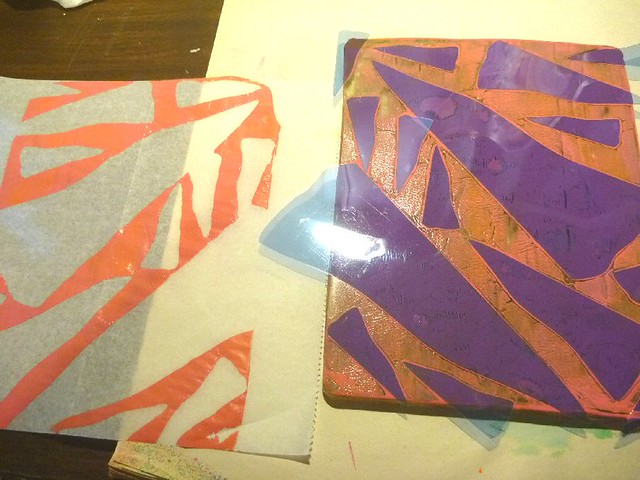
And later making a print from the inside parts of that same stencil:
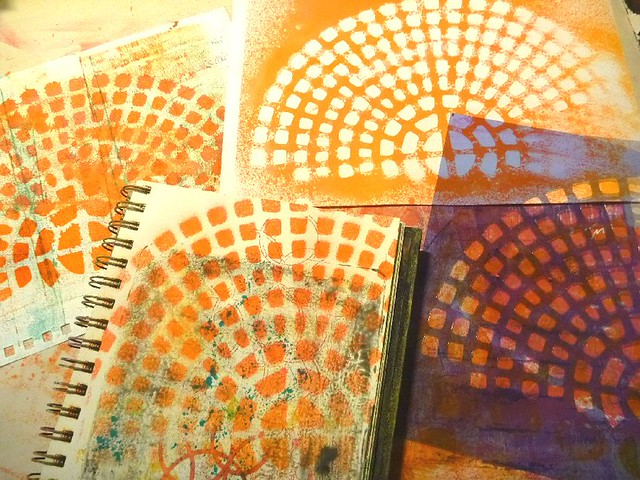
It doesn't always have to be printed with the gelli plate. Here is another new stencil that I used spray inks with:
Linked to: Gelli Party (Carolyn Dube)